
Last updated October 16, 2026
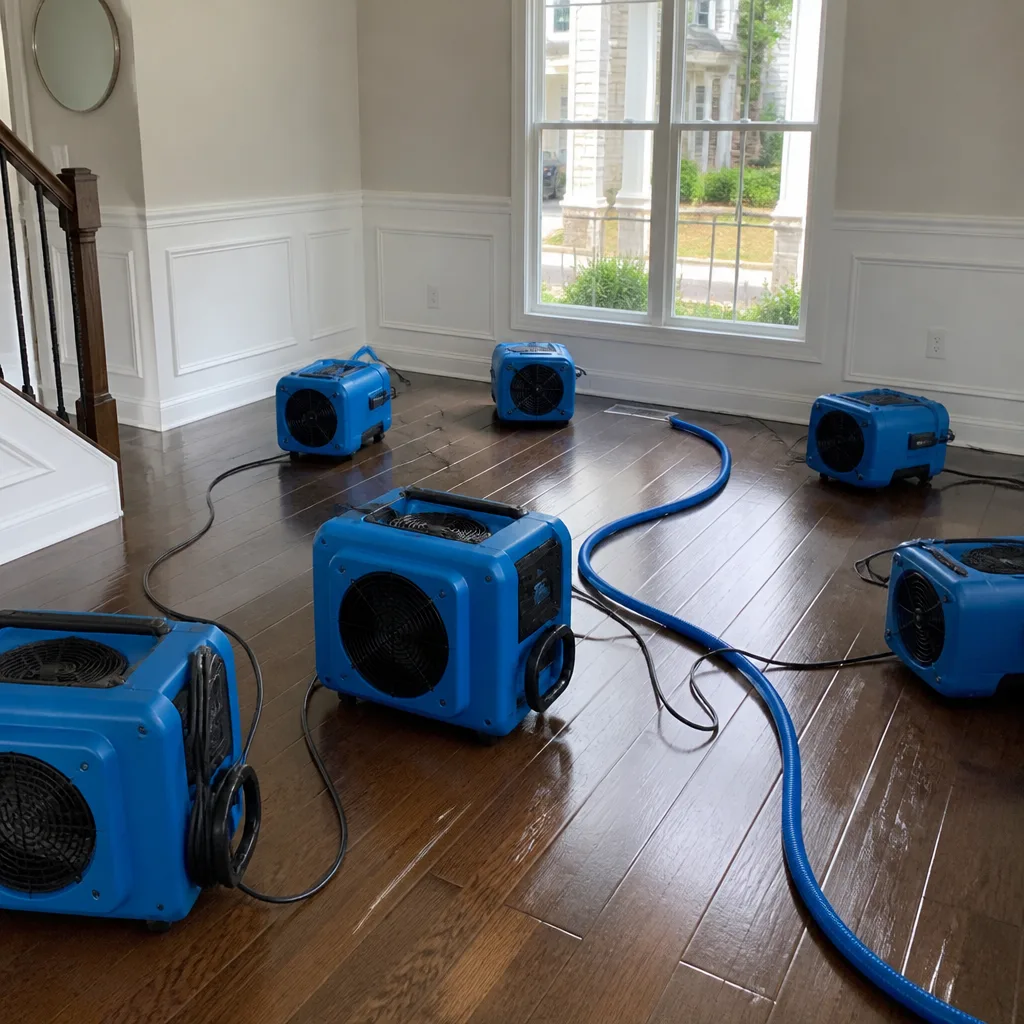 Water damage drying
 Fire & smoke cleanup
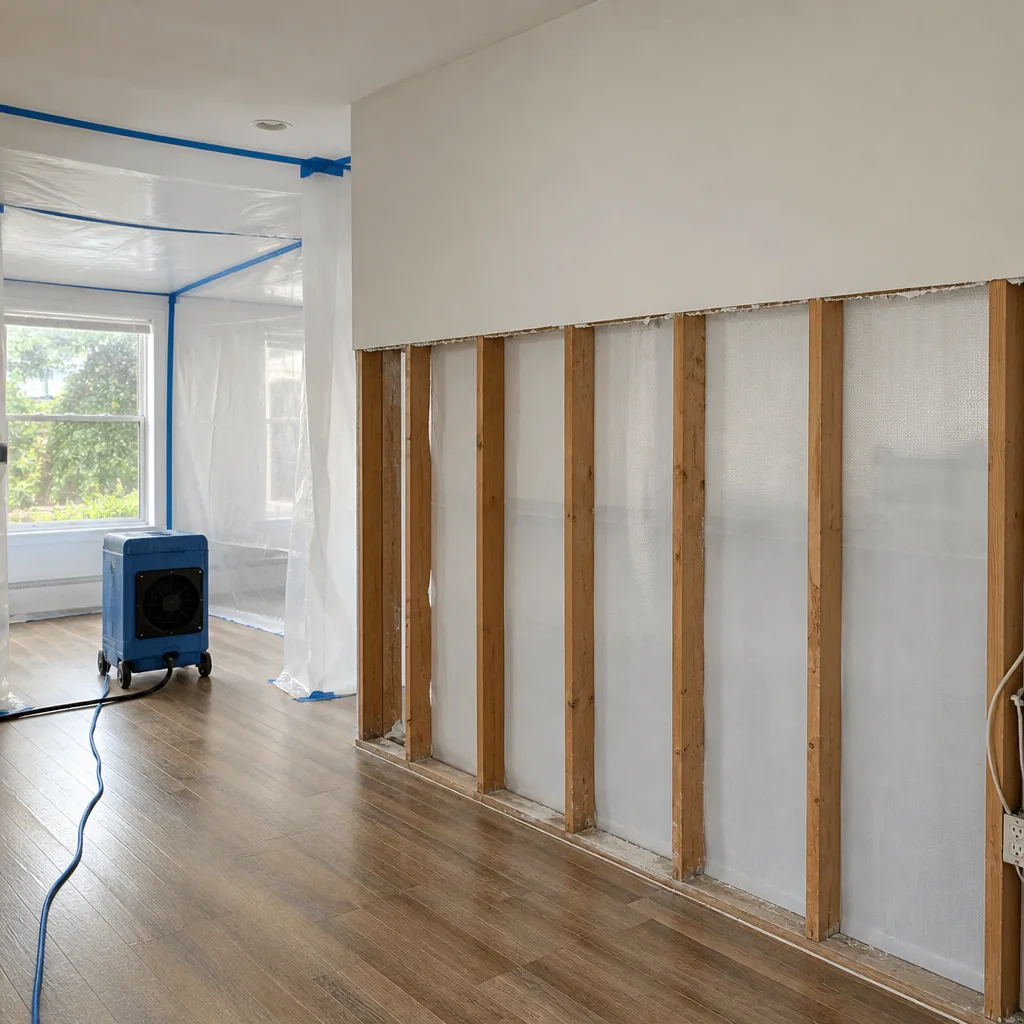 Mold remediation
 Storm response
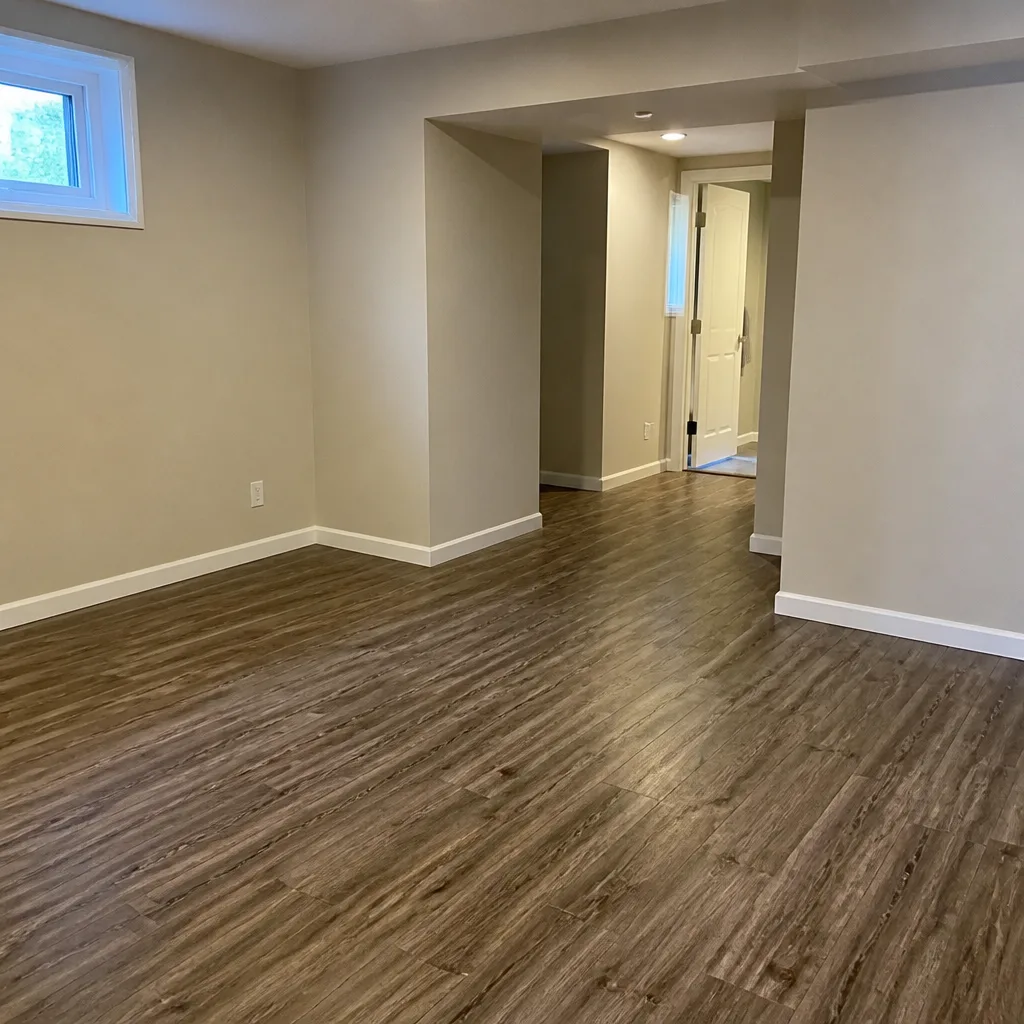 Sewage cleanup
 Reconstruction
Free visual inspection and a written scope of work before any mitigation begins - photos, moisture readings, and drying logs go in your claim file
The scope we write is the scope we bill. Anything new gets shown to you, in writing, before we touch it.
Get your free estimateWater Damage Restoration Maintenance Checklist for Miami Homeowners
Here’s a stat that surprises most people in Miami: the majority of water damage claims we respond to in this city are not caused by hurricanes, storm surge, or even the dramatic pipe bursts you see on the evening news. They’re caused by slow, silent failures that happen inside the walls, ceilings, and mechanical closets of otherwise ordinary homes. A clogged AC condensate line. A toilet supply valve that never gets turned. A washing machine hose that’s been flexing since the Bush administration. This guide is built backward from the 11 specific failure points that generate roughly 80% of water damage claims in Miami-Dade homes, and pairs well with The Complete Guide to Damage Restoration in Miami. Every item on this checklist exists because we’ve pulled wet drywall, ruined cabinets, and moldy baseboards out of homes in Coral Gables, Kendall, Little Havana, and Pinecrest as a direct result of that exact failure.
Quick Answer
A water damage prevention checklist for Miami homeowners should prioritize five things year-round: flushing the AC condensate drain line every 30 to 45 days to prevent algae clogs, inspecting washing machine hoses and supply lines every six months, exercising all plumbing shutoff valves twice a year to prevent them from seizing open, testing the water heater pressure relief valve annually, and checking flat-roof and low-slope roof drains before every summer storm season. If you do those five things on schedule, you eliminate the conditions behind the majority of residential water losses in Miami-Dade County. For more guides & resources, visit our blog.
Restoration work we handle
Table of Contents
- AC Condensate Line: The Real Number One Threat in Miami
- Shutoff Valve Exercise Schedule: Why Miami’s Hard Water Makes This Critical
- Washing Machine Hoses and Supply Lines: The $8 Part That Costs Thousands
- Flat-Roof and Low-Slope Drain Checks: Miami’s Daily Convection Storms
- The Plastic-Sheet Test: Detecting Lateral Slab Moisture Migration
- Water Heater and Pressure Relief Valve: The Overlooked Flood Source
- Record-Keeping Template: What Florida Insurers Now Expect
- Common Mistakes to Avoid
AC Condensate Line: The Real Number One Threat in Miami
When we tell homeowners that the single most common source of water damage in Miami is the air conditioner’s condensate drain line, they usually look at us sideways. Hurricanes feel like the obvious villain. But here’s what happens in a Miami home: the AC runs nearly 365 days a year because our cooling load never really stops. That means condensation forms constantly. The drain line that carries that water away is dark, wet, and warm, which is exactly the environment where algae and microbial slime thrive. Within a few weeks, that line can clog. Water backs up. The drain pan overflows. And because the air handler is usually tucked inside a closet or attic space that nobody checks daily, the water can pool and seep into drywall, baseboards, and subflooring for days before anyone notices.
The fix is simple enough that every Miami homeowner should do it monthly during the rainy season, and every 45 days the rest of the year. Pour one cup of white vinegar or a 50/50 bleach solution into the condensate line access point. This kills the algae before it becomes a blockage. If you have a wet/dry vacuum, you can also attach it to the exterior drain line outlet and pull the gunk out directly. The standard HVAC manual might suggest this every three months, but in South Florida’s heat and humidity, we recommend a more aggressive schedule. Algae grows faster here than anywhere else in the continental United States.
One more thing: locate your air handler before there’s a problem. In most Miami homes it’s in a hall closet, a utility room, or the garage. Open the panel and look at the drain pan underneath the unit. If there’s standing water in that pan right now, the line is at least partially clogged. Address it this week, not next month. We’ve seen water damage from condensate overflows run anywhere from a few thousand dollars for drywall replacement to tens of thousands when mold remediation becomes necessary. That’s a disproportionate cost for a maintenance item that takes five minutes.
Shutoff Valve Exercise Schedule: Why Miami’s Hard Water Makes This Critical
Miami’s municipal water supply is hard. That’s not a complaint; it’s a fact of our limestone aquifer. Hard water leaves mineral deposits on everything it touches, and plumbing shutoff valves are particularly vulnerable. Over time, calcium and other minerals build up on the internal stems of these valves, causing them to seize in the open position. The problem is that a shutoff valve only matters when you need to shut something off. And in the middle of a burst pipe emergency, discovering that the valve won’t turn is the difference between a manageable cleanup and a full-scale restoration project.
We recommend exercising every accessible shutoff valve in your home twice a year. Here’s the step-by-step:
- Locate every shutoff valve in your home. These include the main water shutoff (usually near the water meter or where the main line enters your house), toilet supply valves, sink supply valves, washing machine valves, dishwasher valve, and water heater cold-water inlet valve.
- Start with the main shutoff valve. Turn it clockwise until it stops, then counterclockwise back to fully open. You’ll feel some resistance. If it won’t budge, don’t force it. A seized valve can snap, which is a problem. Instead, call a plumber to replace it proactively.
- Do the same for each individual fixture valve. Turn it off, then on, one full cycle.
- If a valve is stiff but functional, work it back and forth gently a few times. This helps break up minor mineral deposits.
- Note any valve that leaks from the stem when turned. That’s a packing seal issue, and it’s a five-minute fix for a plumber, but a genuine leak risk if left alone.
The logic behind this maintenance item is brutally simple: a shutoff valve you’ve never touched has already failed. You just don’t know it yet. In our experience, homes built more than 10 years ago in Miami without regular valve maintenance have a roughly 50% failure rate when a valve is finally needed. That’s a coin flip you don’t want to take during an active water emergency.
Washing Machine Hoses and Supply Lines: The $8 Part That Costs Thousands
A washing machine supply hose costs about $8 at any hardware store in Miami. A burst washing machine hose can release up to 650 gallons of water per hour, depending on your home’s water pressure. That’s enough to flood a laundry room, saturate the adjacent walls, and push water into the subfloor and possibly the slab below. The math is not complicated. And yet, most Miami homeowners never think about their washing machine hoses until one fails.
Rubber hoses are the primary culprit. They degrade internally and externally. The rubber becomes brittle, the braided reinforcement corrodes, and the connection fittings weaken. The fix is to upgrade to braided stainless steel hoses, which are dramatically more reliable and typically cost between $15 and $30 per pair. But even stainless steel hoses need inspection. Here’s what to check twice a year:
- Look for visible bulges, cracks, or corrosion near the connection points on both ends of each hose.
- Feel along the entire length of the hose for soft spots or irregularities.
- Check that the rubber washers inside the threaded connections are still flexible, not hard or cracked.
- Confirm that the hoses are not kinked or pressed against the back wall of the washing machine.
- Replace any rubber hoses that are more than five years old, regardless of how they look. The failure is often internal.
One more Miami-specific point: many laundry rooms in Miami homes are located on the second floor or inside an interior closet, not in a garage. That means a hose failure doesn’t just flood the laundry area. It runs through the ceiling of the room below. We’ve seen second-floor washing machine hose failures cause damage across three separate rooms and a hallway. If you’re leaving your home for more than two or three days, turn off the washing machine supply valves before you go. It’s a ten-second habit that eliminates a whole category of risk.
Flat-Roof and Low-Slope Drain Checks: Miami’s Daily Convection Storms
Every afternoon between May and October, Miami gets what meteorologists call convection storms. They’re the sudden, violent thunderstorms that drop two inches of rain in twenty minutes, often on one neighborhood while the next one over stays dry. These storms are not hurricanes. They don’t make national news. But they test your roof’s drainage system harder than most hurricanes do, because the rain comes down so fast that any obstruction creates immediate ponding. And ponding water on a flat or low-slope roof is how water eventually finds its way inside.
Many Miami homes, especially the mid-century ranch styles and the newer modern builds, have flat or low-slope roofs. If your roof has a drain instead of a gutter, that drain needs to be clear. It’s that simple. Leaves, palm fronds, and debris accumulate around roof drains within weeks, not months. When the next convection storm hits, the water has nowhere to go except into the roof seams and the nail holes.
Here’s the inspection routine we recommend for Miami homeowners with flat or low-slope roofs:
- Check every roof drain and scupper twice a month during the rainy season. If you’re not comfortable getting on the roof, use binoculars from the ground or hire a handyman for a monthly inspection.
- After every storm that drops more than one inch of rain, look at your ceiling for new water stains, especially around the perimeter where the roof meets the walls.
- Walk the perimeter of your home and look for any area where water is draining directly onto the foundation or pooling against the walls. That water can migrate laterally through the slab, which we’ll talk about in the next section.
- Check the roof membrane for cracks, blisters, or peeling, especially around penetrations like vents, pipes, and HVAC units. Water enters through these failure points long before the roof actually “leaks” in the visible sense.
Roof maintenance is one of the few items on this list where the cost of prevention is genuinely trivial compared to the cost of the failure. A cleared roof drain costs nothing. A roof leak that goes unnoticed for a month can mean ceiling replacement, insulation replacement, drywall replacement, and mold remediation. That’s a five-figure repair that started with a palm frond sitting on top of a drain.
The Plastic-Sheet Test: Detecting Lateral Slab Moisture Migration
This is the item on our checklist that most Miami homeowners have never heard of, and it’s one of the most important. Miami homes are overwhelmingly built on concrete slabs. Concrete is porous. It absorbs water. When water accumulates against the outside of your foundation, especially after a heavy rain or from a misdirected downspout, that water migrates laterally through the slab. It travels underneath your flooring, up into the walls, and into any room that shares that slab. By the time you see visible water or buckling flooring, the moisture has often been present for weeks.
Here’s the test any Miami homeowner can perform with a sheet of plastic and a roll of packing tape:
- Cut six squares of clear plastic, each roughly 18 inches by 18 inches. A drop cloth or a contractor bag works fine.
- Choose six testing locations: one in each corner of the ground floor, one in the center of the garage floor, and one near any exterior door that faces the prevailing weather or a known drainage problem.
- Make sure the concrete or flooring at each location is clean and dry to the touch.
- Tape each plastic square to the floor, sealing all four edges completely. Don’t skip this step. The edges must be airtight.
- Wait 48 hours. Don’t walk on the plastic. Don’t peel it up early.
- After 48 hours, check each square. If there’s moisture on the underside of the plastic, condensation inside, or if the concrete beneath the plastic appears darker than the surrounding floor, you have moisture migrating through your slab.
This test doesn’t tell you where the water is coming from. That requires investigation. But it tells you whether you need to investigate. A clean plastic sheet in all six locations is strong evidence that your slab is not absorbing groundwater. A damp plastic sheet means water is entering your home from below, and that’s a problem that will not fix itself. Lateral slab moisture migration is a common cause of flooring failures, baseboard rot, and persistent musty odors in Miami homes. It’s also a precursor to mold growth inside wall cavities. If your test comes back positive, call a professional for further assessment.
Water Heater and Pressure Relief Valve: The Overlooked Flood Source
A water heater holds anywhere from 40 to 80 gallons of water depending on your home setup. When it fails, that entire volume is released into whatever room contains it. In many Miami homes, the water heater is in a garage, a utility closet, or even an interior closet near the kitchen or hallway. A water heater failure in an interior closet is essentially a 50-gallon flood delivered directly into your living space.
Most water heater failures fall into two categories: tank corrosion and pressure relief valve failure. Tank corrosion is a progressive condition. The tank rusts from the inside out, and eventually it springs a pinhole leak that breaches the outer shell. By the time you see the leak, the tank is unsalvageable. The plan should be replacement, not repair. A pressure relief valve failure is different. The valve is a safety component designed to release pressure if the tank gets too hot or too pressurized. If the valve is stuck, the tank can over-pressurize and rupture. If the valve is leaking, you’ve got a continuous drip that can cause floor damage and eventually a larger failure.
Here’s the annual maintenance routine for your water heater:
- Locate the pressure relief valve. It’s usually on the top or the upper side of the tank, with a small lever and a drain tube running down from it.
- Place a bucket under the drain tube. Flip the lever open for three seconds, then release it. You should hear a rush of water as the valve opens and closes.
- If no water comes out when you flip the lever, or if water continues to drip after the valve closes, the valve has failed and needs replacement. A replacement valve costs under $30 and a plumber can install it in under an hour.
- Check the area around the base of the tank for any signs of moisture, rust, or mineral deposits. These are early leaks from tank corrosion.
- Check the cold-water shutoff valve at the top of the water heater. If that valve is seized, you can’t isolate the water heater during a leak, and that’s a problem. Exercise it the same way you exercise your other shutoff valves, as described earlier in this guide.
Water heaters in Miami tend to have a lifespan of 8 to 12 years. The mineral content in our water accelerates corrosion. If your water heater is more than 10 years old, replace it proactively. A planned replacement costs a fraction of what a failure costs, especially when the failure happens at 2 a.m. in a finished room.
Record-Keeping Template: What Florida Insurers Now Expect
Here’s a truth about Florida property insurance that doesn’t make the headlines: insurers are increasingly denying or reducing water damage claims when the homeowner cannot document that the property was properly maintained. The logic, from the insurer’s perspective, is that water damage caused by a lack of maintenance is a homeowner responsibility, not an insurable event. And in Florida’s current insurance market, that argument gets made more aggressively than ever.
The only way to protect yourself is to document your maintenance. That means dates, actions taken, and any receipts for parts or professional services. If you can demonstrate that you flushed the AC condensate line every 45 days, exercised your shutoff valves twice a year, and replaced your washing machine hoses every five years, your insurance claim for a sudden failure becomes dramatically stronger.
Here’s a simple record-keeping template you can copy into a notebook, a spreadsheet, or a notes app:
- Date: [Month/Day/Year]
- Maintenance Item: [AC condensate flush / shutoff valve exercise / washing machine hose inspection / roof drain check / plastic-sheet test / water heater valve test]
- Location: [Which fixture, appliance, or zone]
- Action Taken: [What you did, in one or two sentences]
- Result / Condition Observed: [Normal / needs attention / replaced part]
- Receipt/Photo Attached: [Yes/No]
Take photos of everything. A photo of your AC condensate flush with a date stamp is hard for any adjuster to argue with. A photo of a new washing machine hose next to its receipt is even better. If you do end up filing a water damage claim in Miami, this documentation is the difference between a fast payout and a multi-month fight with your carrier. We work directly with insurance adjusters on restoration projects, and the homeowners who bring maintenance records to the table consistently have better outcomes.
Common Mistakes to Avoid
- Assuming hurricane season is the only water threat. Miami’s daily summer convection storms cause more property damage than hurricanes in most years. Your roof drains and gutters need maintenance from May through October, not just when a named storm is tracking toward us.
- Flushing the AC condensate line once a year and feeling good about it. In Miami’s heat, algae grows fast enough to clog a drain line in six to eight weeks. Once a year is not enough. Thirty to forty-five days is the interval.
- Never touching a shutoff valve until an emergency. A seized valve is a failed valve. If you don’t exercise your valves, you will discover the failure at the worst possible moment. We know this because we’ve watched it happen in homes throughout Miami-Dade.
- Keeping rubber washing machine hoses past their service life. Rubber hoses fail internally long before they show visible damage. If your hoses are more than five years old, replace them now with stainless steel braided hoses. This is the single cheapest prevention measure on this entire checklist.
- Ignoring minor ceiling stains because “it’s not that bad.” A small water stain on a ceiling is never just a stain. It means water has entered your roof assembly or your plumbing system and is sitting somewhere it shouldn’t be. By the time the stain grows, the damage is already significant.
- Skipping the plastic-sheet test because the floors look fine. Slab moisture migration is invisible until it isn’t. The plastic-sheet test costs nothing and takes 48 hours. It’s the only DIY method for detecting a problem that can rot your flooring from underneath.
- Failing to document maintenance. In Florida’s insurance environment, undocumented maintenance is the same as no maintenance. Keep a log. It protects your claim.
See the difference
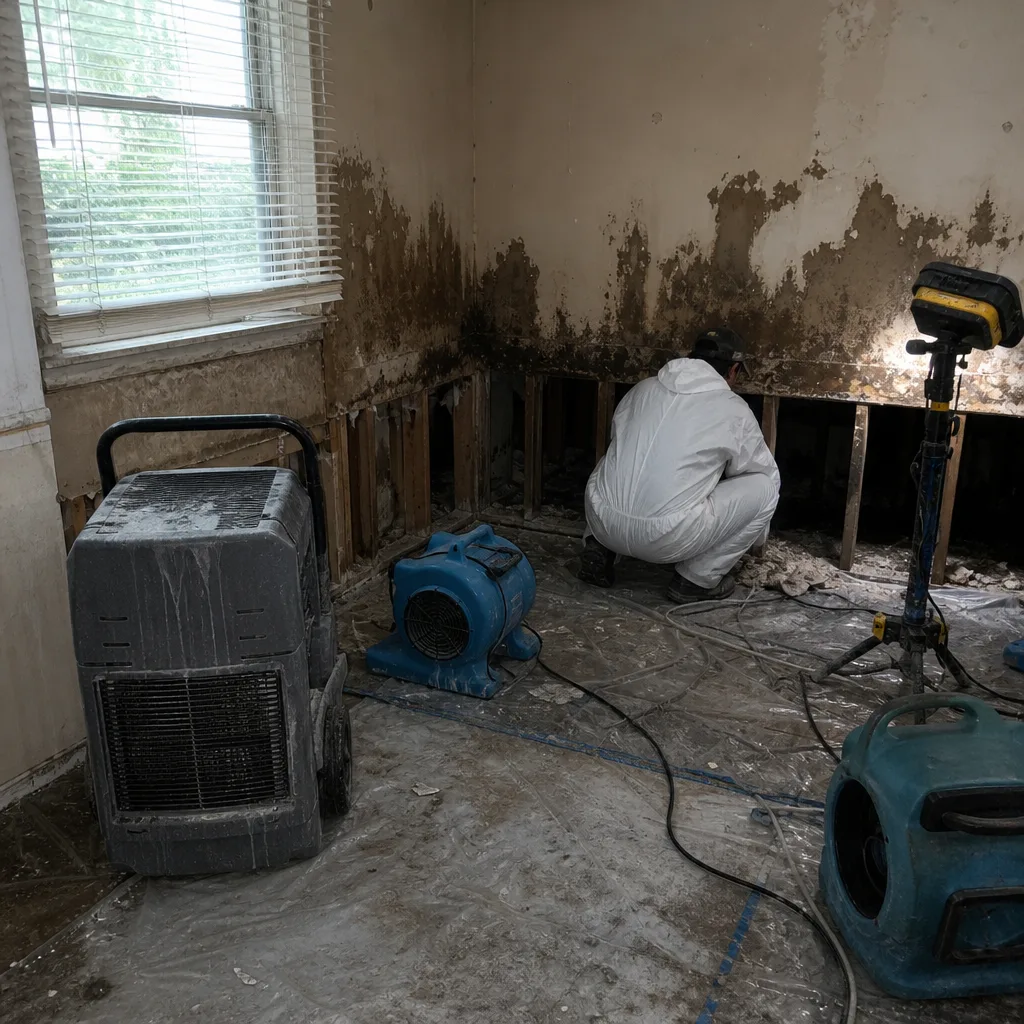 Before
 After
After Before
 After
After Before
 After
AfterWhen to Call a Professional
This checklist is designed to help you prevent water damage. It is not a substitute for professional intervention when something has already gone wrong. If you discover active water intrusion, visible mold, a ceiling that’s sagging under water weight, or a persistent musty odor that won’t go away, the time for prevention is over. You need a professional assessment. Some situations are genuinely dangerous: water-saturated drywall can collapse, and mold inside wall cavities can release spores into your living space. If your plastic-sheet test comes back positive, if your shutoff valve snaps off in your hand, or if your water heater is actively leaking, call a professional. Marsh Water Damage Miami offers free estimates in Miami, including Water Damage Restoration services. Call (689) 888-7601 and a live person will answer, any hour, any day.
Frequently Asked Questions
Flush your AC condensate line every 30 to 45 days in Miami, not the quarterly schedule that most HVAC manuals suggest. Miami’s year-round cooling load and high humidity create conditions where algae grows quickly inside the drain line, and a clogged line is the single most common cause of water damage in local homes. Pour one cup of white vinegar or a 50/50 bleach solution into the line’s access point monthly during the summer months.
Florida homeowners insurance policies vary, but many policies exclude or limit coverage for water damage caused by long-term leaks or lack of maintenance. Sudden and accidental failures that occur despite documented maintenance are more likely to be covered. That’s why record-keeping matters so much. If you’re unsure about your policy, contact your insurance agent directly and ask specifically about condensate line overflow and slow leak exclusions.
The best way to find a water leak before it causes visible damage is to combine the plastic-sheet slab moisture test with regular inspections of your AC condensate drain pan, shutoff valves, and water heater base. Look for signs like musty odors, slightly warped flooring, recurring condensation on windows, or unexplained increases in your water bill. Any of these can indicate hidden water intrusion.
Mold can begin growing within 24 to 48 hours after water intrusion in Miami’s warm, humid climate. That’s faster than in most parts of the United States. If you experience a water leak or overflow, the affected area needs to be dried thoroughly within 48 hours to prevent mold colonization. Professional drying equipment like the commercial air movers and dehumidifiers used by water damage restoration contractors in Miami works much faster than household fans. Learn more about our Marsh Water Damage Miami home services for full-scale drying and restoration.
Yes. Turn off your washing machine supply valves and consider turning off the main water shutoff if you’ll be gone for more than a week. Many water damage claims in Miami happen while homeowners are away, because slow leaks run uninterrupted for days. If you do turn off the main water supply, also turn off your water heater or set it to vacation mode to avoid pressure buildup.
Most residential water extractions in Miami run between $1,200 and $3,800 before drying equipment and full restoration are factored in, depending on the size of the affected area and the category of water involved. Mold remediation and structural drying add to that total. The best way to get a precise number is to call (689) 888-7601. Marsh Water Damage Miami provides written pricing before any work begins, so you’ll know the full scope and cost upfront, never after the fact.
The Bottom Line
Water damage in Miami is not primarily a hurricane story. It’s a slow, silent, maintenance story. The AC condensate line that clogs. The shutoff valve that seizes. The washing machine hose that fails. The roof drain that blocks. These are the failure points that generate the vast majority of residential water damage claims in Miami-Dade County, and every single one of them is preventable with a consistent maintenance routine. The checklist in this guide gives you the schedule: monthly for condensate flushing, twice a year for valve exercising and hose inspections, monthly for roof drains during the rainy season, annually for the water heater and the slab moisture test. Document everything. Your insurance carrier will expect it if you ever file a claim. And if prevention fails and you find yourself with active water damage, mold remediation in Miami and storm damage restoration in Miami are services we provide with written pricing, guaranteed repairs, and a 365-day commitment to doing it right. Call (689) 888-7601 and a live person will answer, 24 hours a day.
Written by Tobias Reyner, Owner at Marsh Water Damage Miami, serving Miami since 2005.